Windows Mac iPad/iPhone/Android
1. Open Chrome or Edge browser and go to the VDS logon page. If your device is not connected to the campus network, connect to the CityUHK VPN first. For VPN setup instructions, please refer to the CityUHK VPN page.
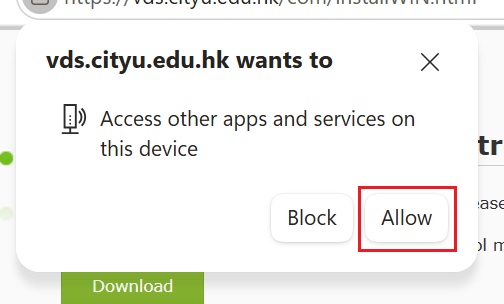
2. When prompted to grant access, click Allow. If the pop-up does not appear, continue with the next step.
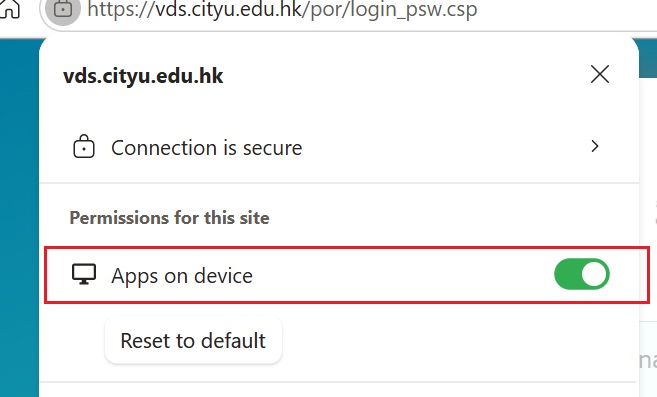
3. Click the icon in the browser address bar, then enable the Apps on device setting by moving the button to the right.
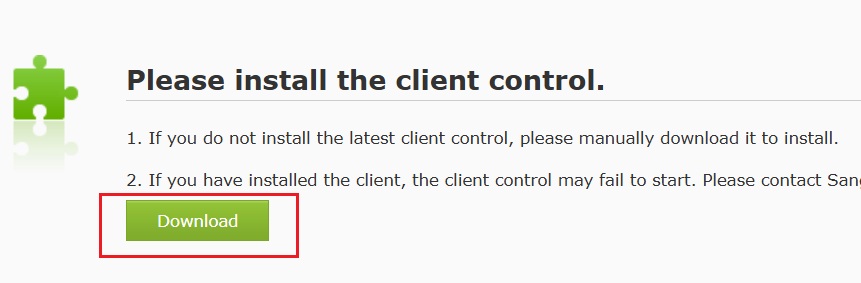
4. On the download page, click Download.
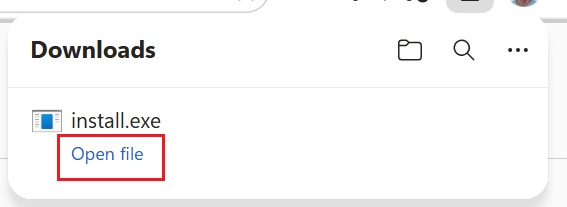
5. After the installation file has been downloaded, open it to run the installer.
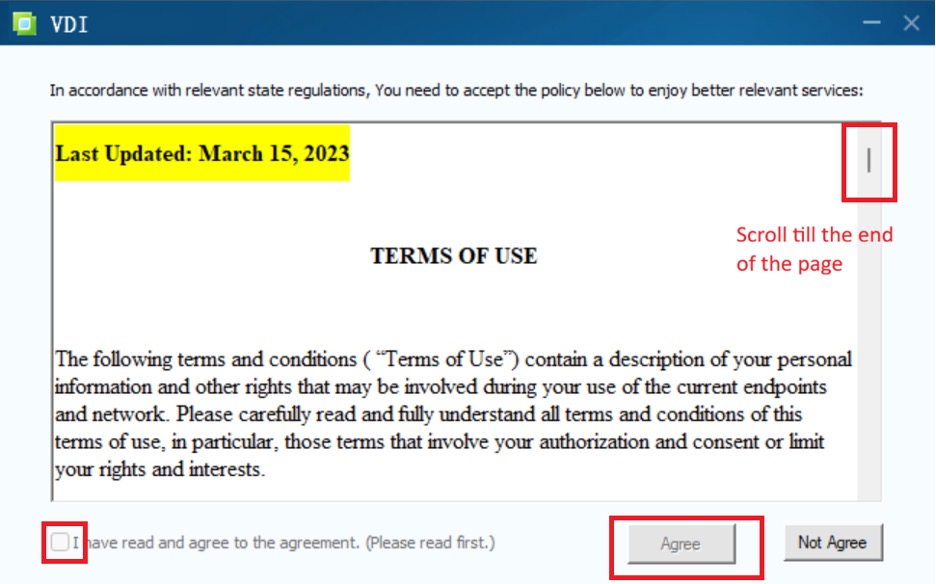
6. Read the Terms of Use, scroll to the end, select the I have read and agree... checkbox, and then click Agree.
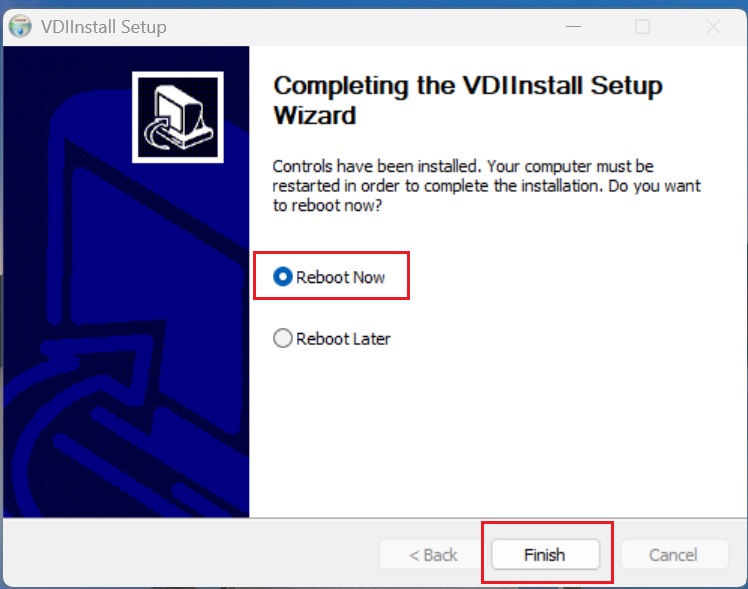
7. When the installation is complete, select Reboot Nowand click Finish to reboot the device.
8. After reboot, open the browser and go to the VDS logon page.
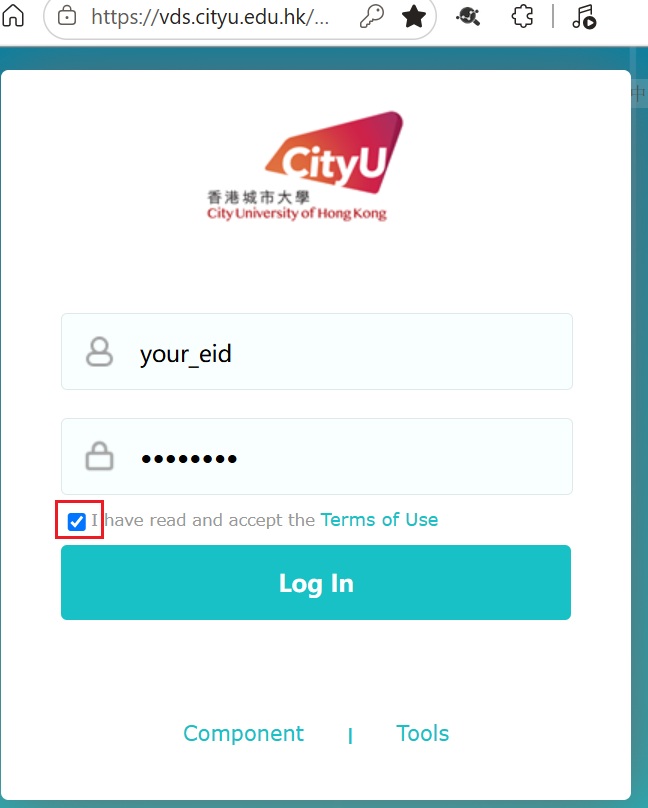
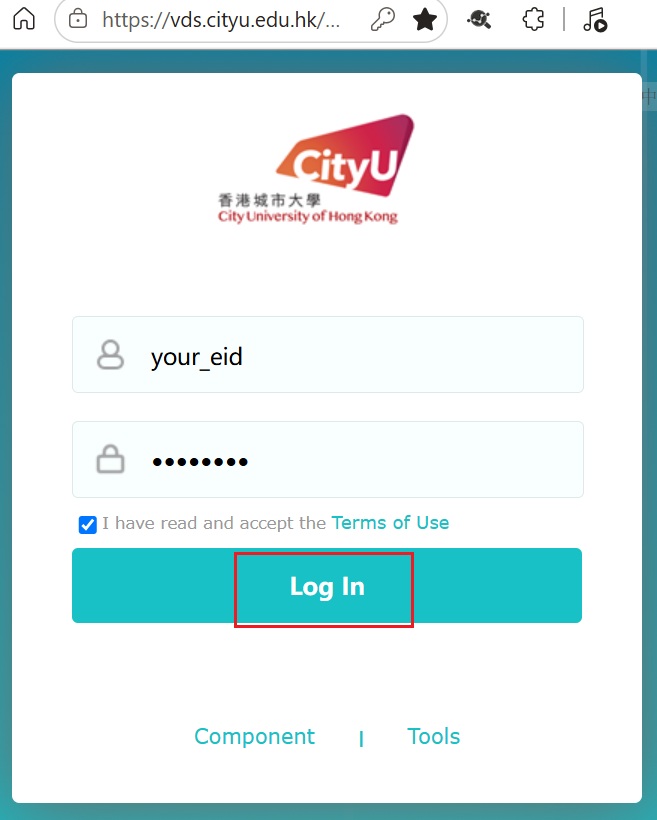
9. Enter your EID and password, then select the I have read... checkbox.
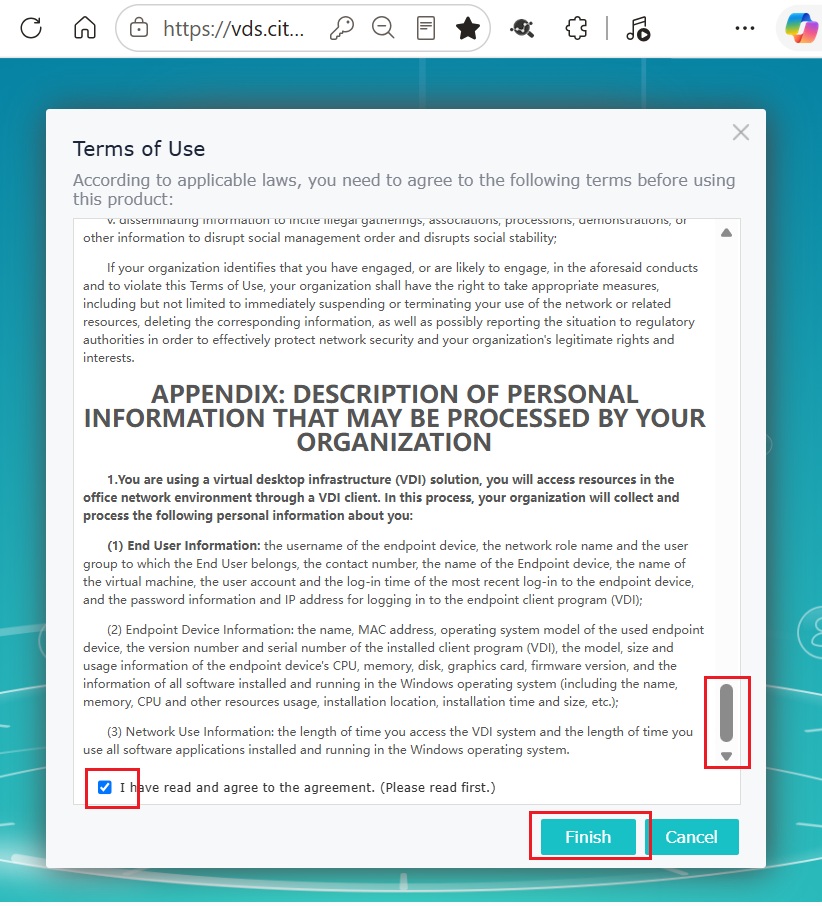
10. When the Terms of Use page appears, scroll to the end, select the I have read... checkbox, and then click Finish.
11. You will return to the login page. Click Log In.
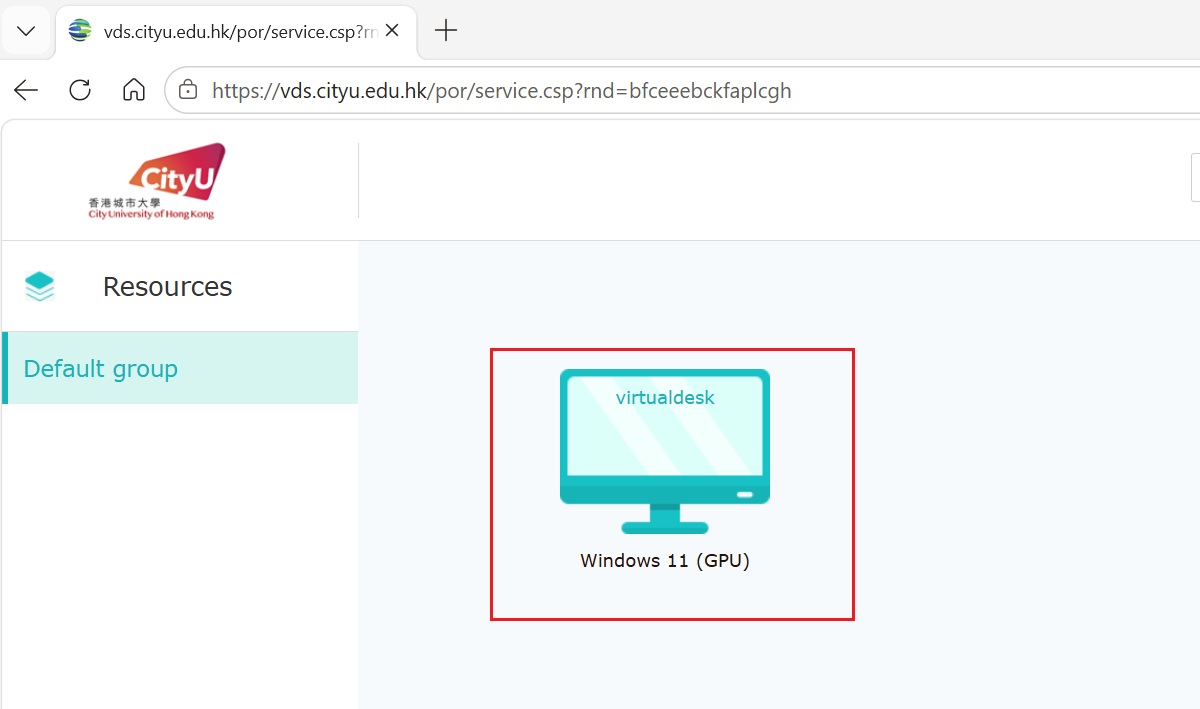
12. The virtual desktop should start automatically. If it does not start, click the Windows 11 (GPU) icon in the centre of the page.
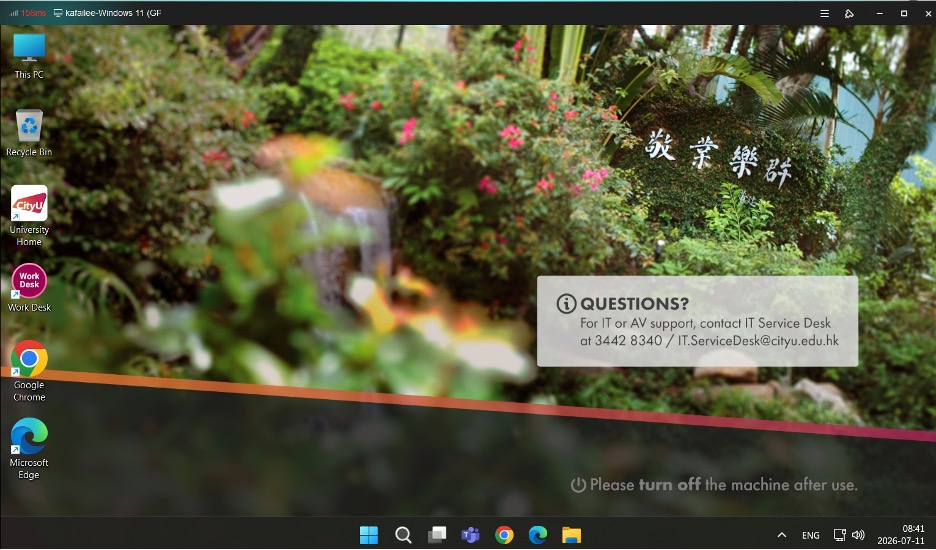
13. In around 1 minute, the virtual desktop will be ready, you can start using CityUHK VDS.
1. Open Safari browser and go to the VDS logon page. If your device is not connected to the campus network, connect to the CityUHK VPN first. For VPN setup instructions, please refer to the CityUHK VPN page.
2. On the download page, click Download.
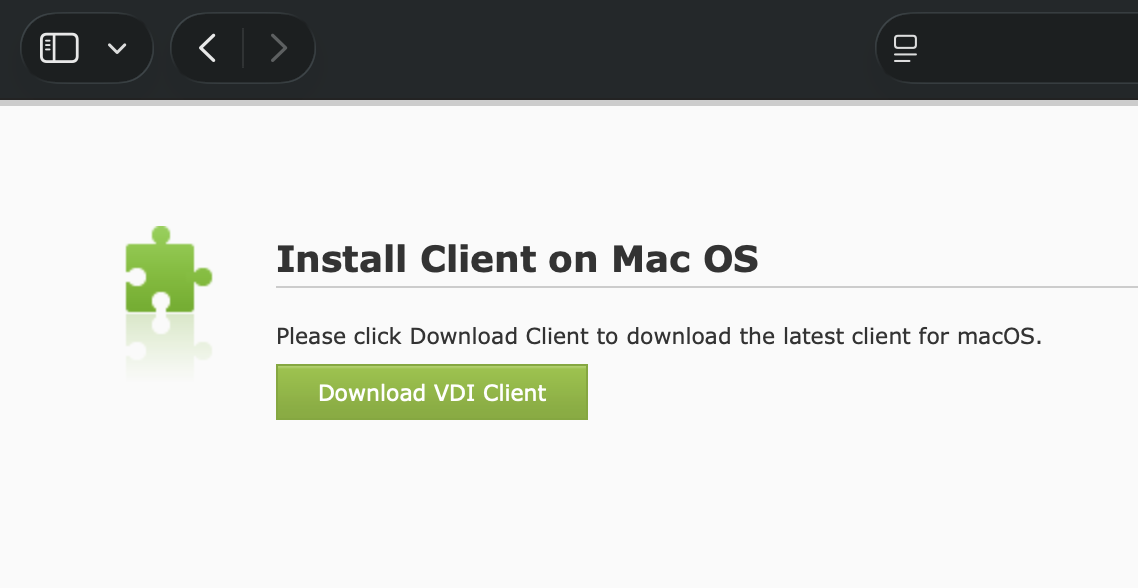
3. After the installation file has been downloaded, open it to run the installer.
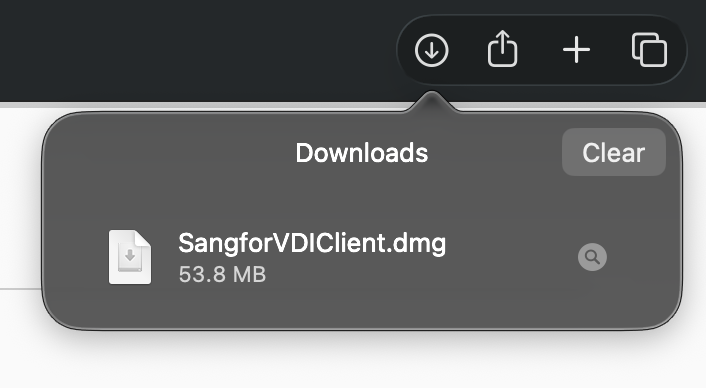
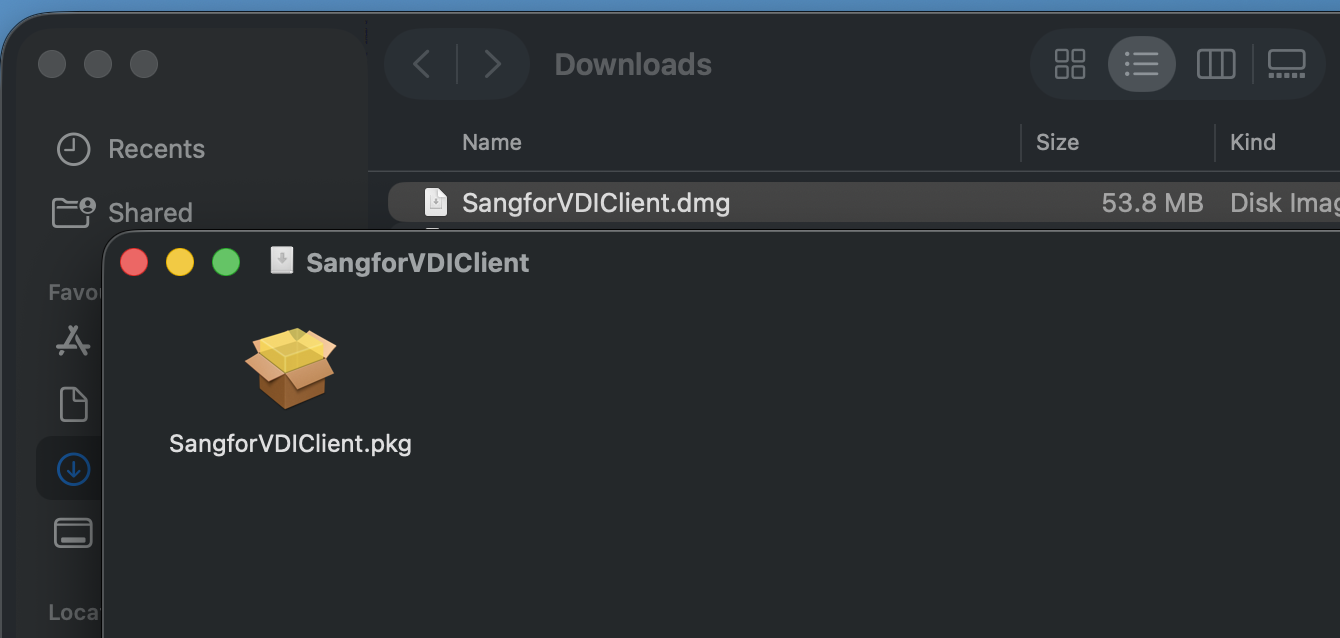
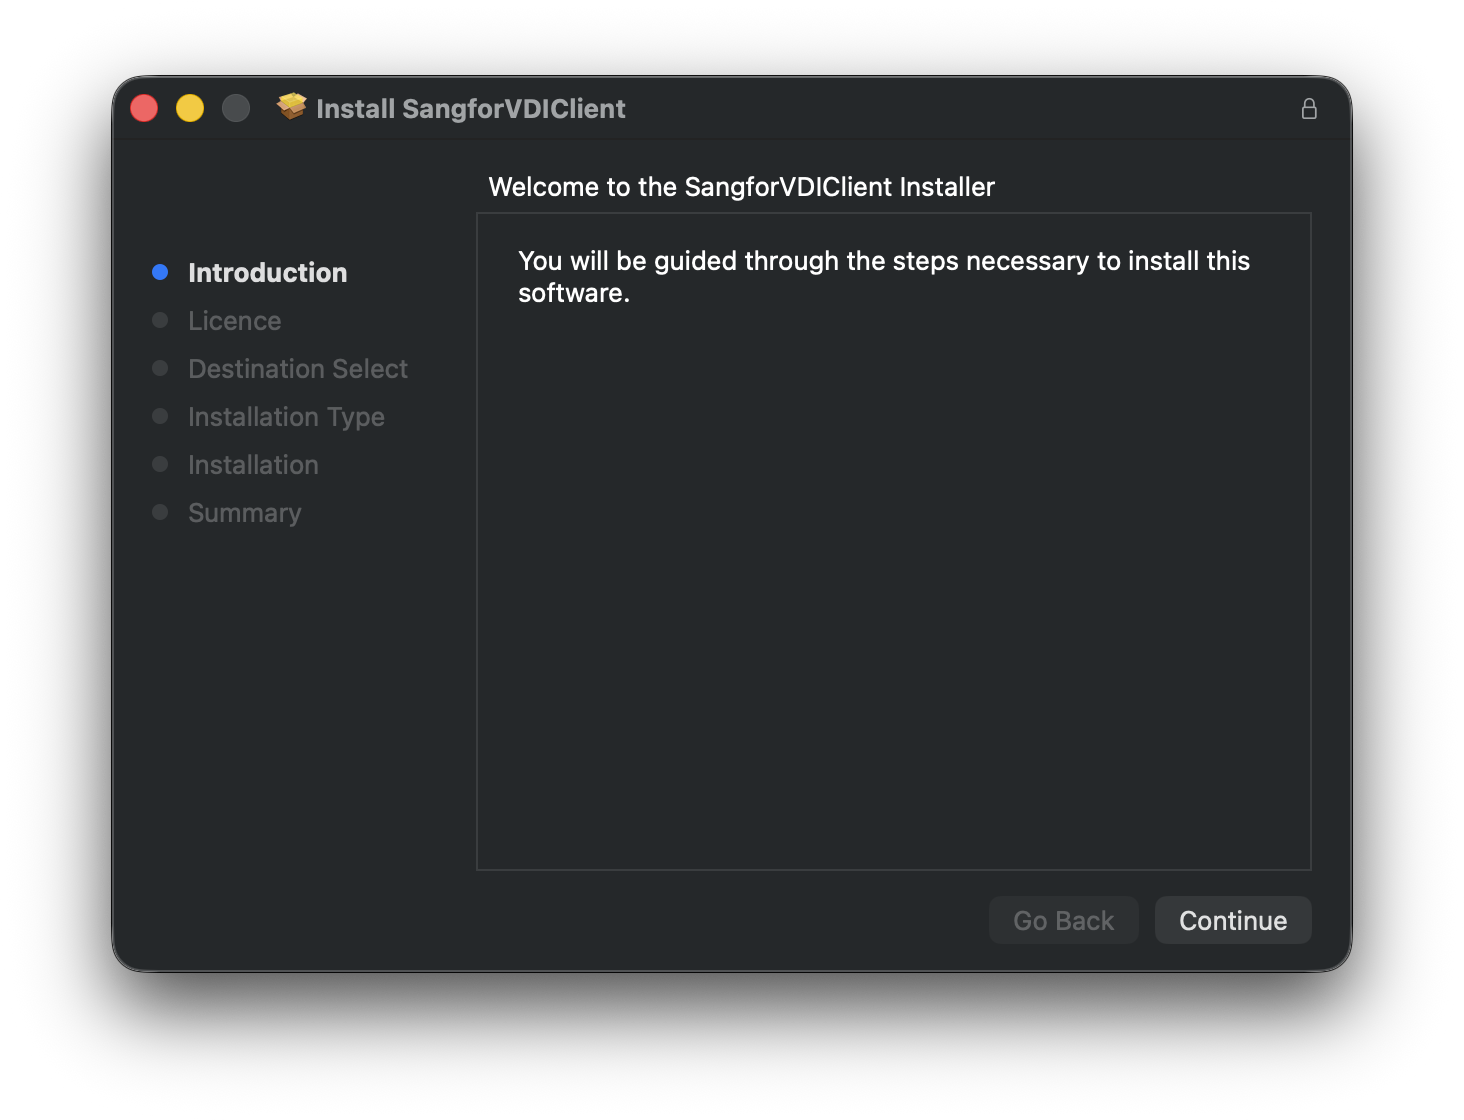
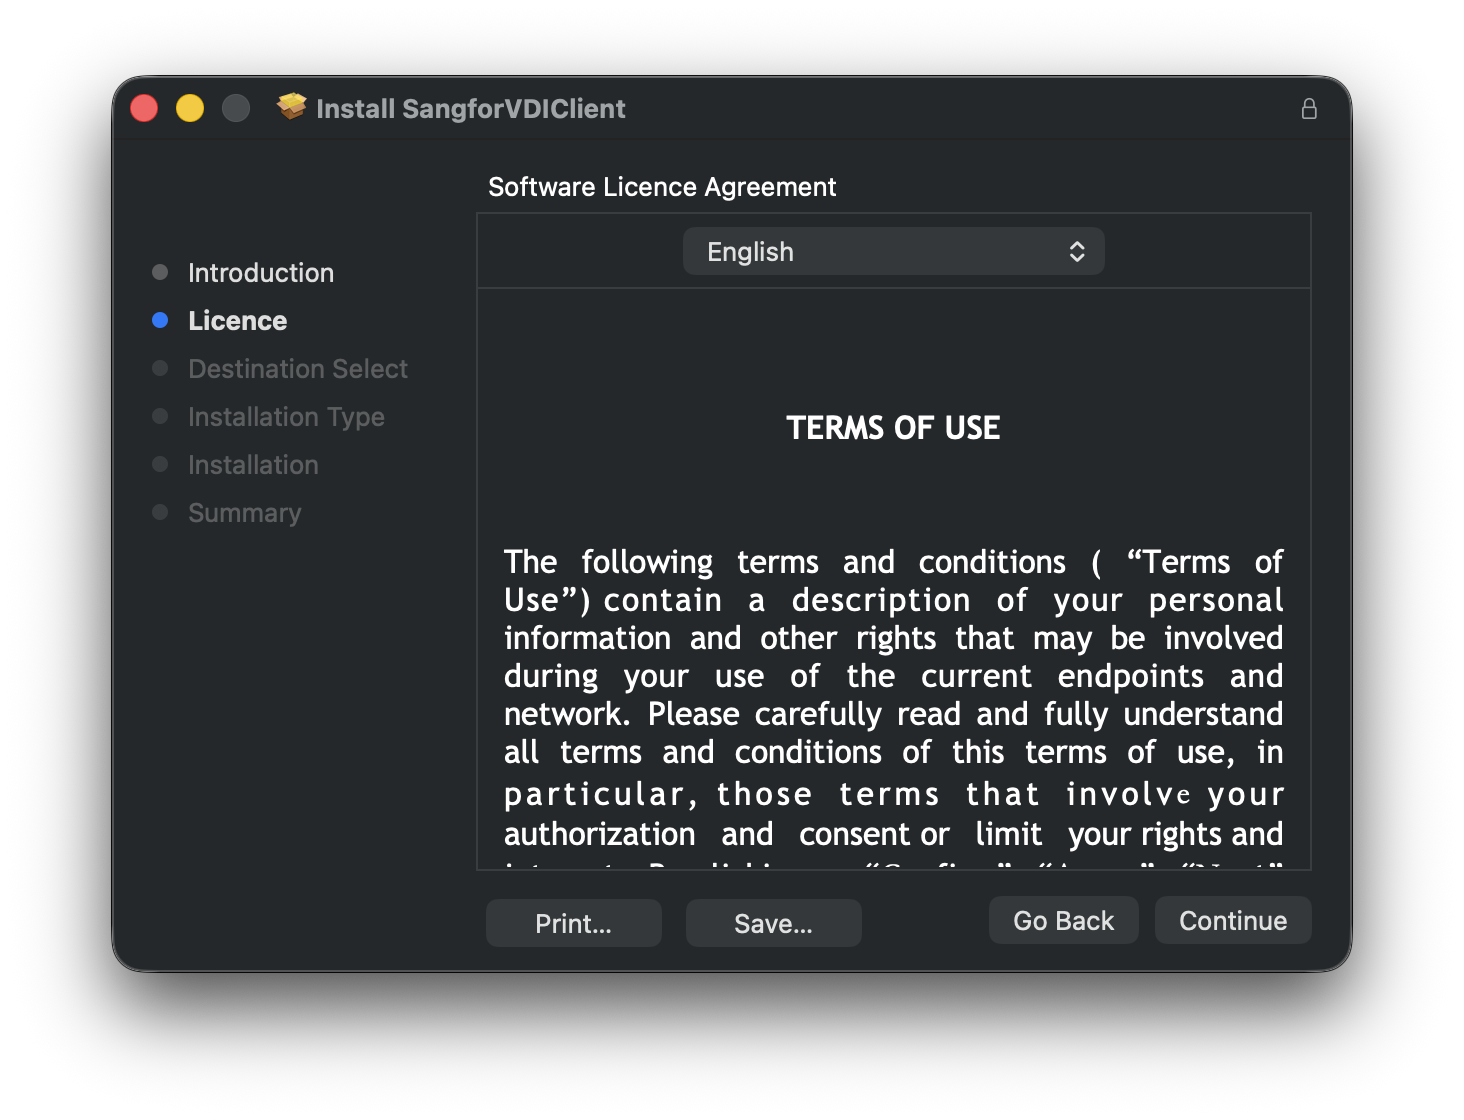
4. Follow the screen instructions to install the SangforVDCClient program.
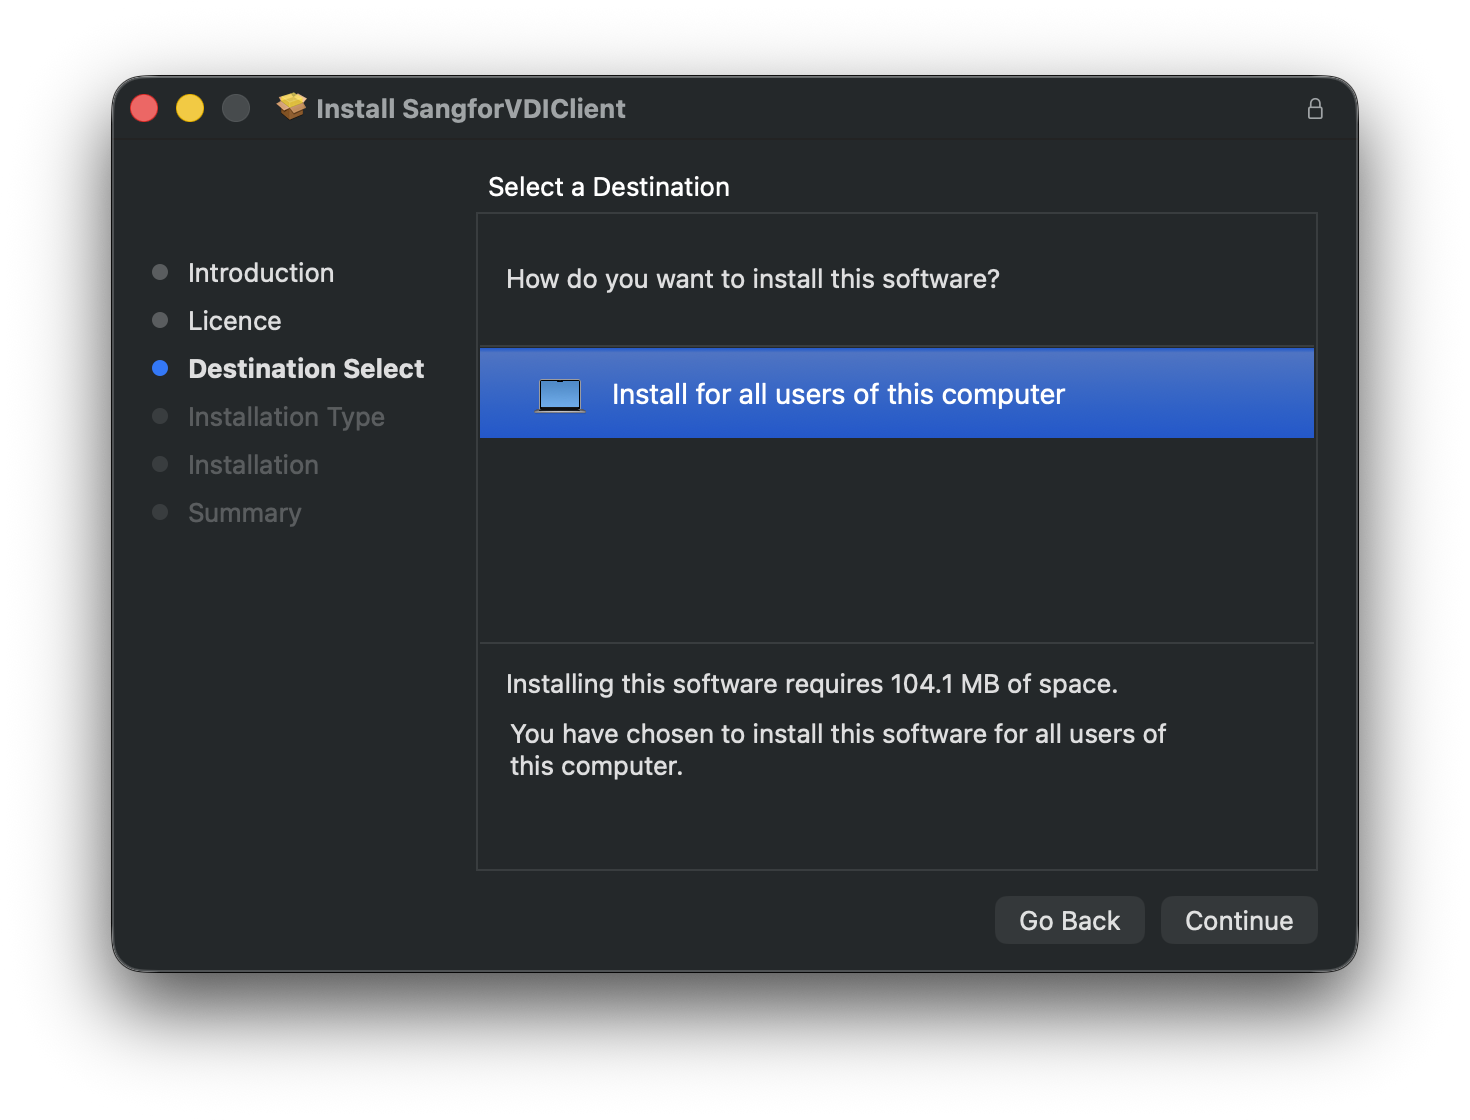
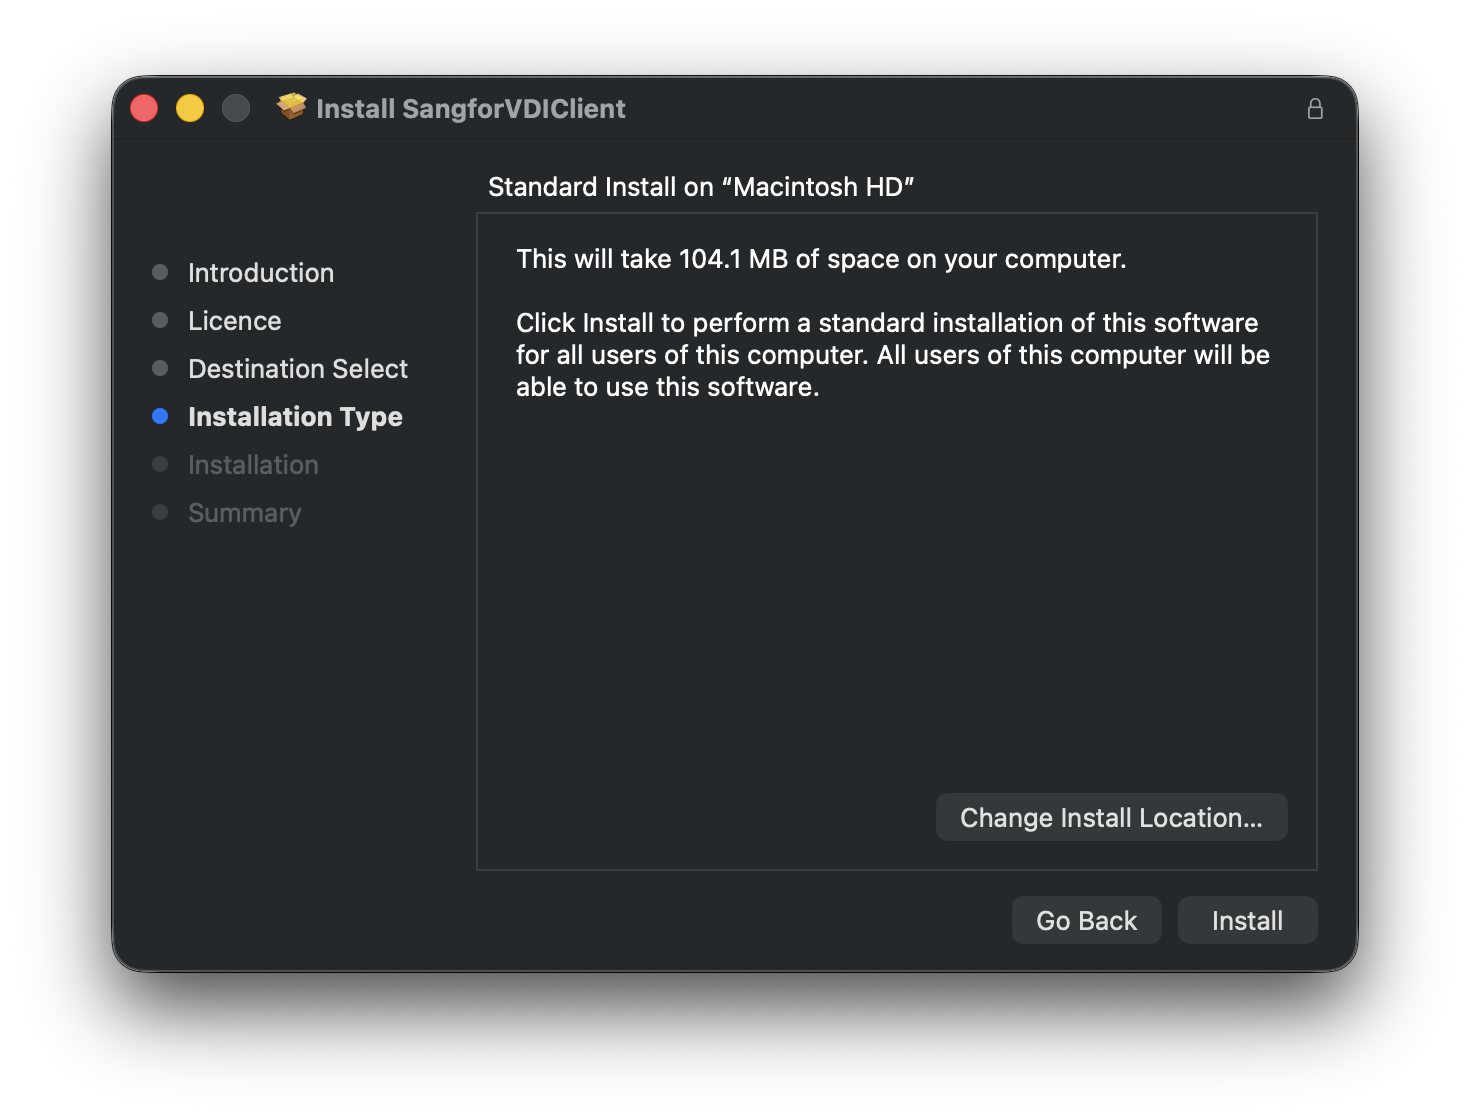
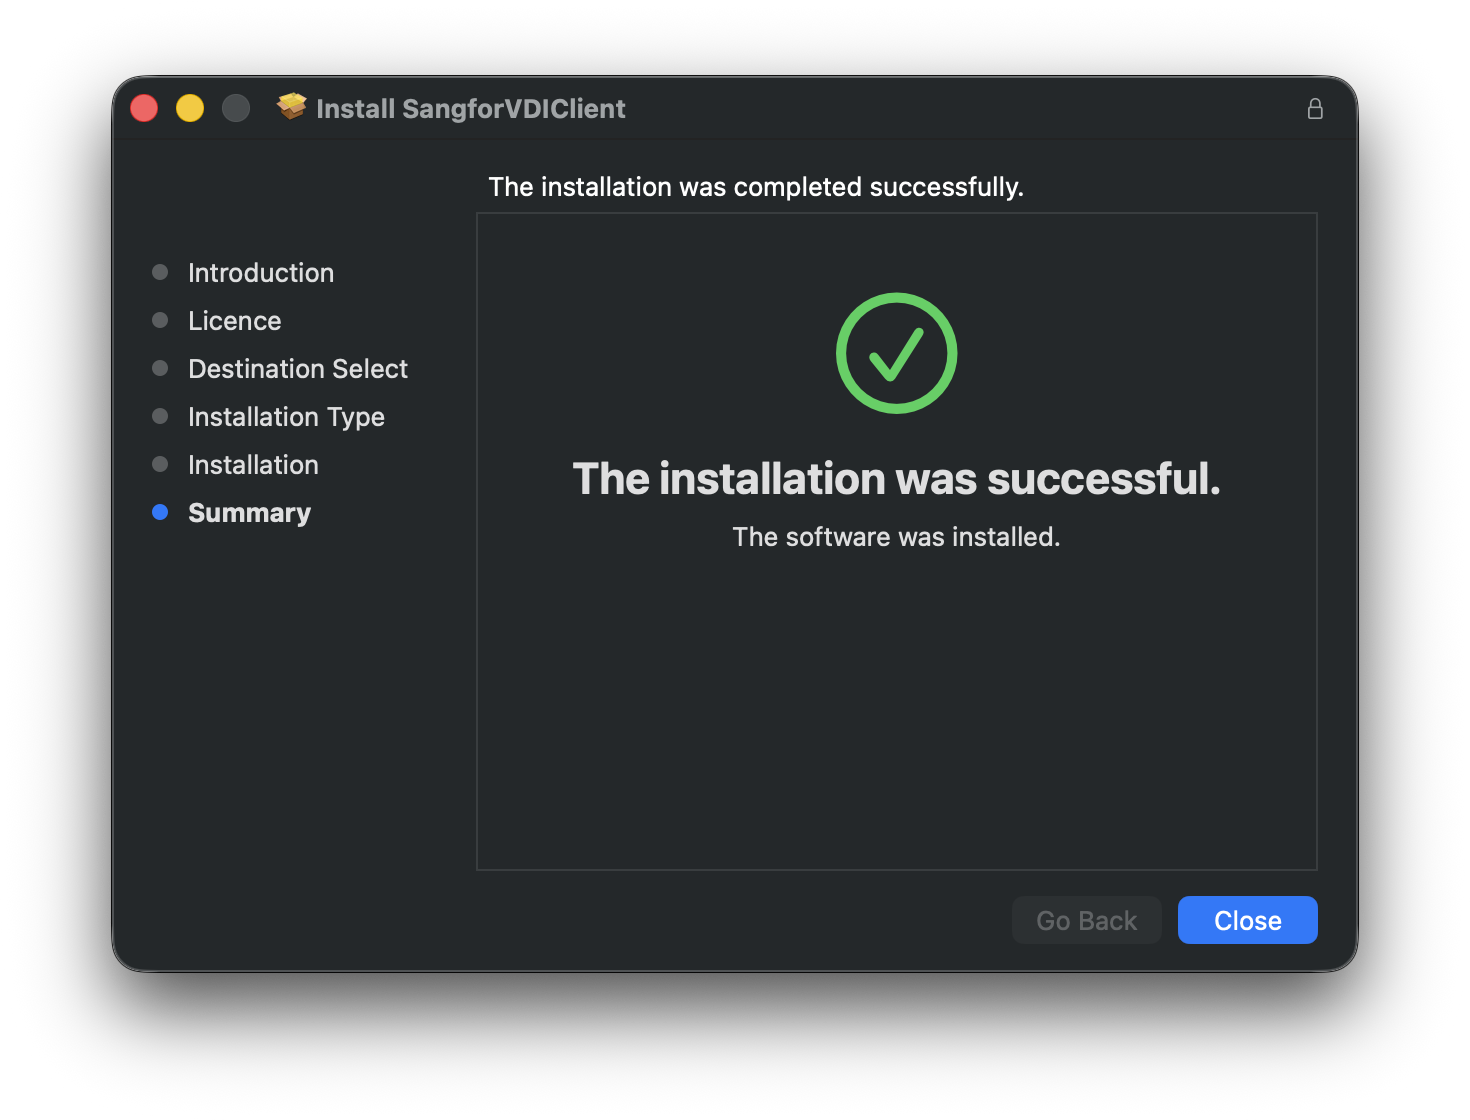
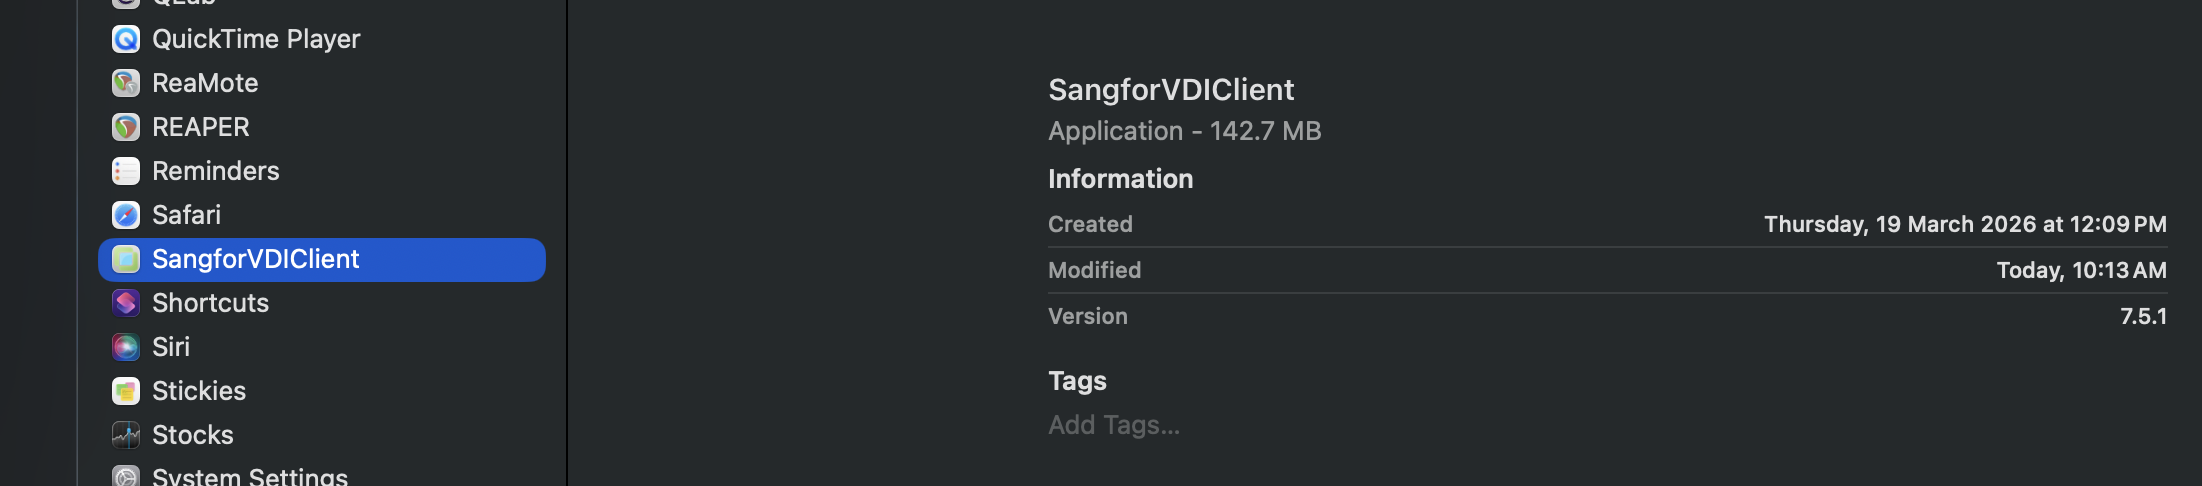
5. When the installation is complete, you will see the SangforVDIClient in Finder.
8. Open the browser again and go to the VDS logon page.
9. Enter your EID and password, then select the I have read... checkbox.
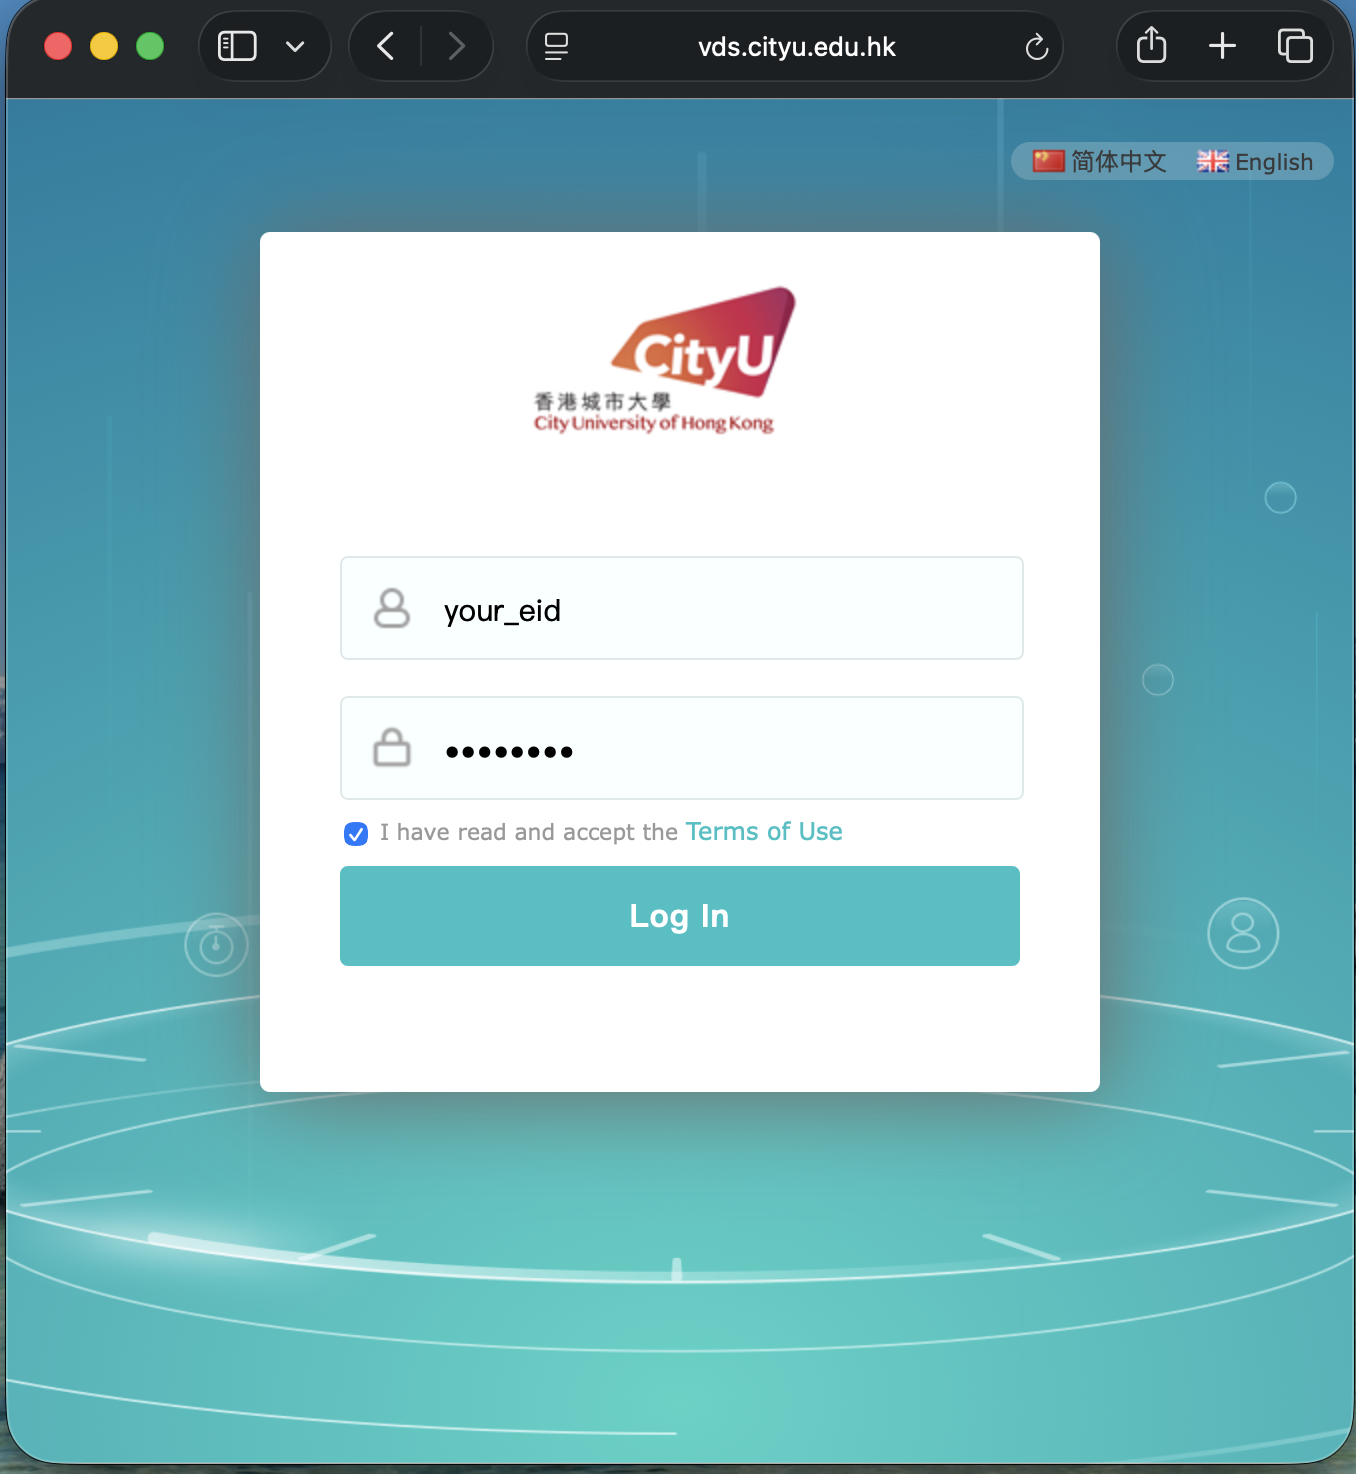
10. When the Terms of Use page appears, scroll to the end, select the I have read... checkbox, and then click Finish.
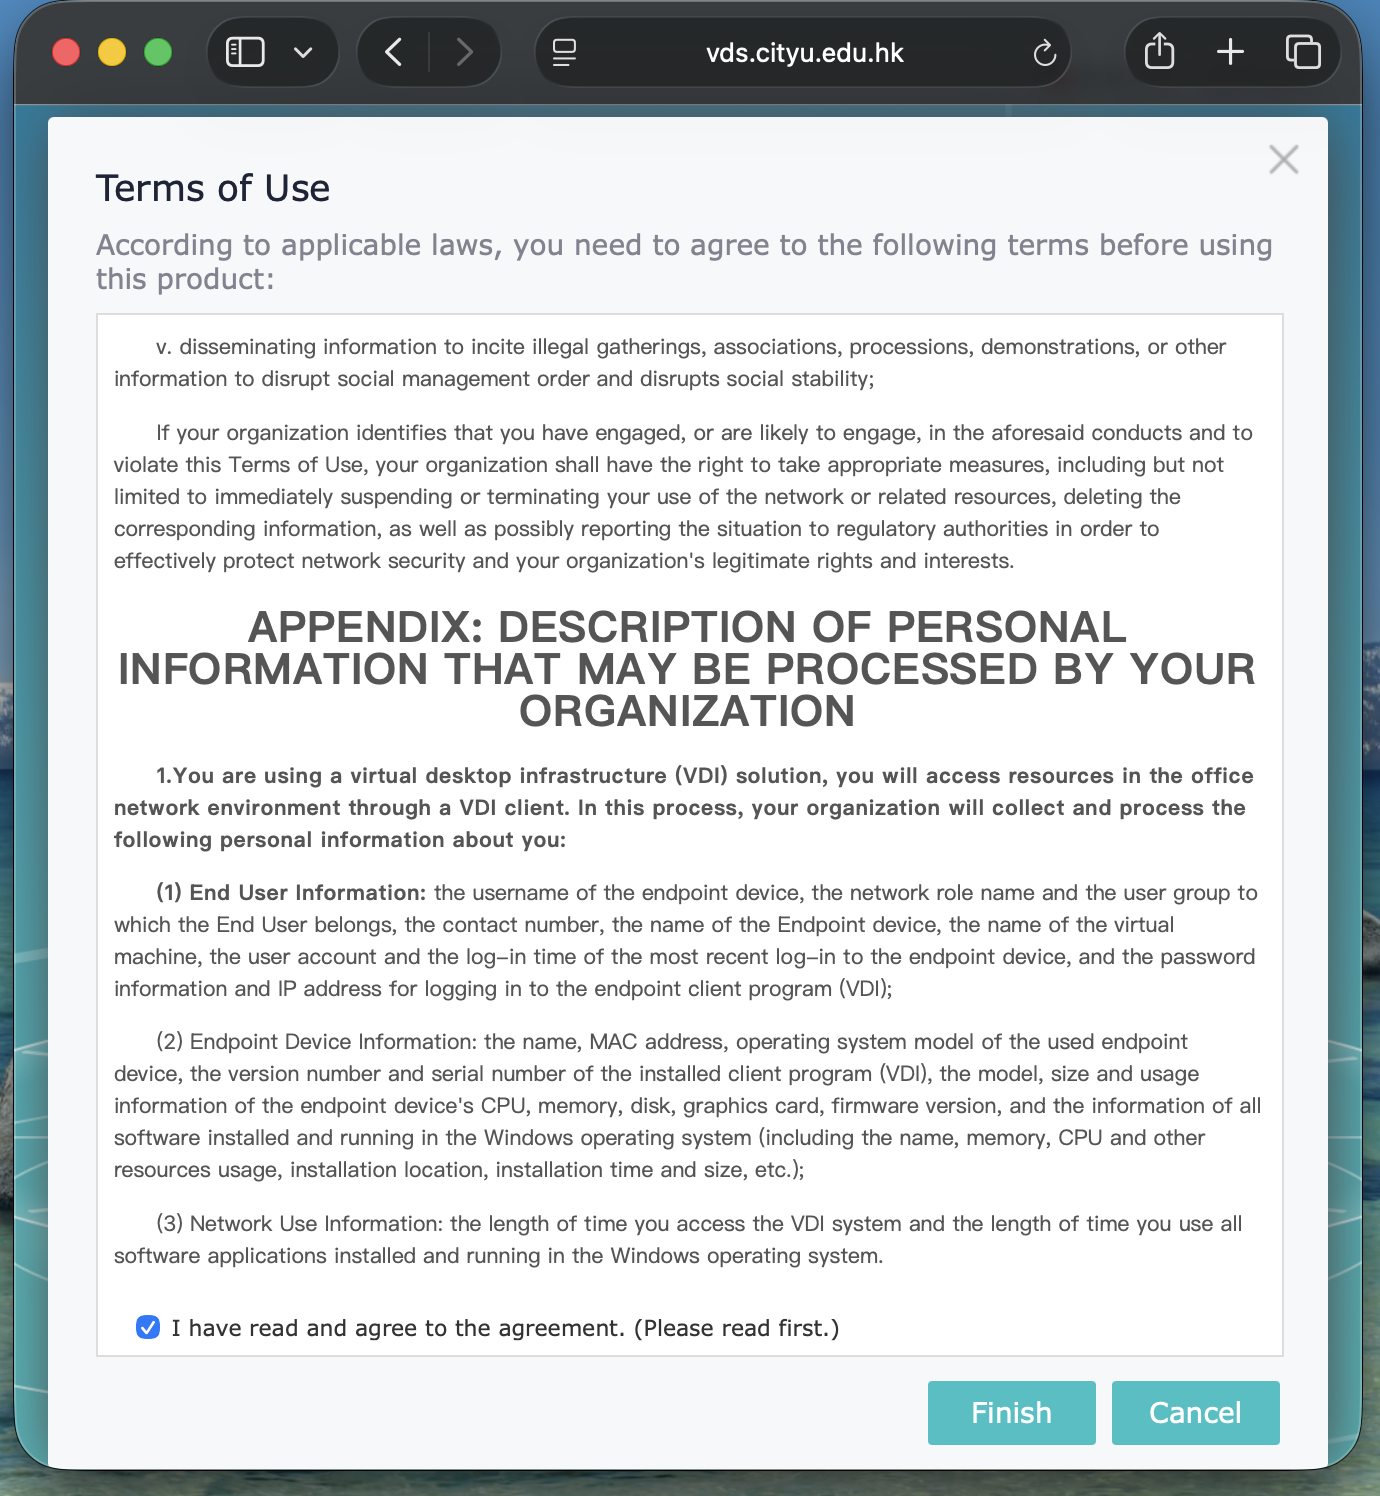
11. You will return to the login page. Click Log In.
12. The virtual desktop should start automatically. If it does not start, click the Windows 11 (GPU) icon in the centre of the page.
13. In around 1 minute, the virtual desktop will be ready, you can start using CityUHK VDS.
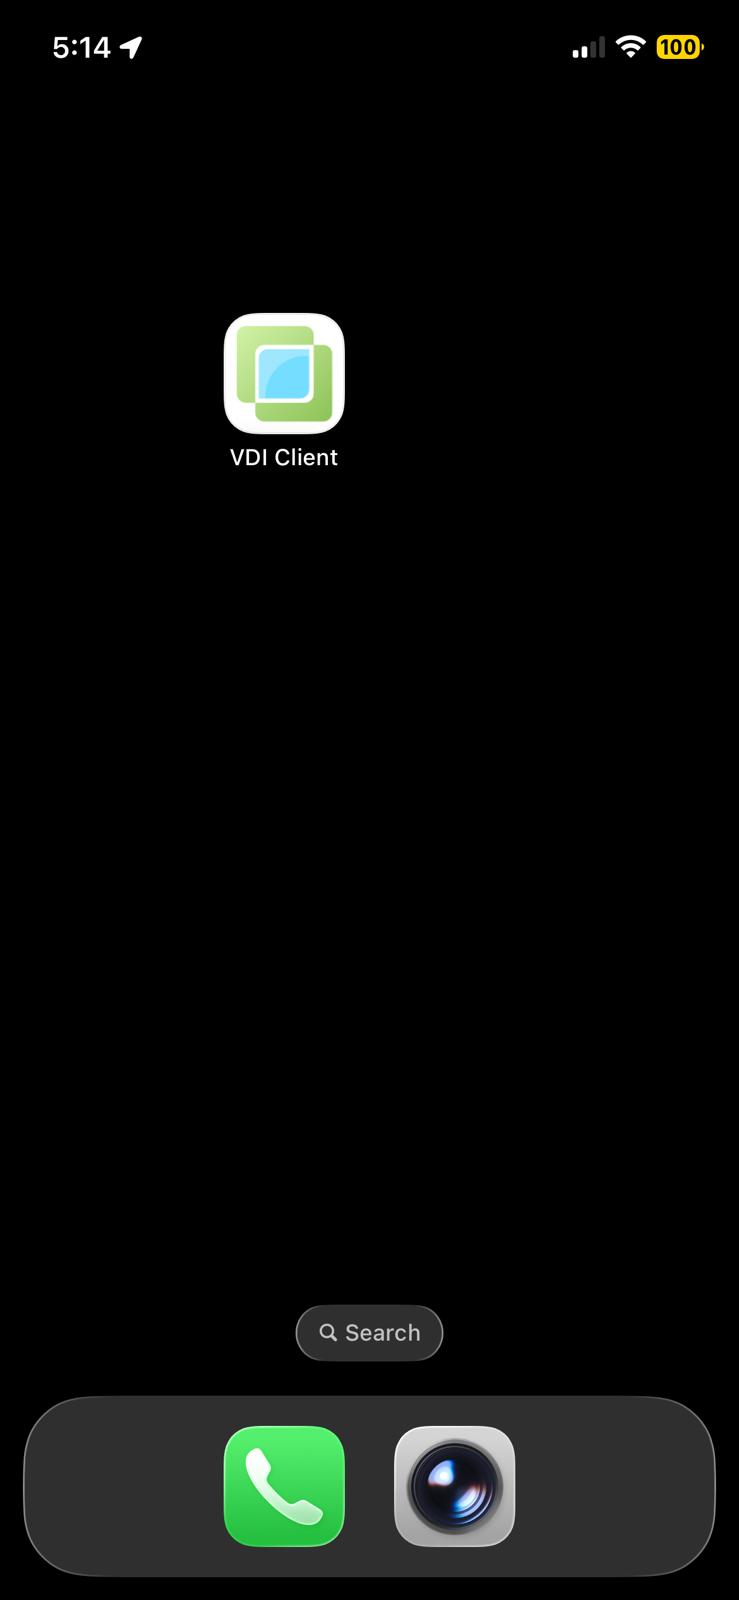
1. Open App Store or Play Store and search VDI Client.
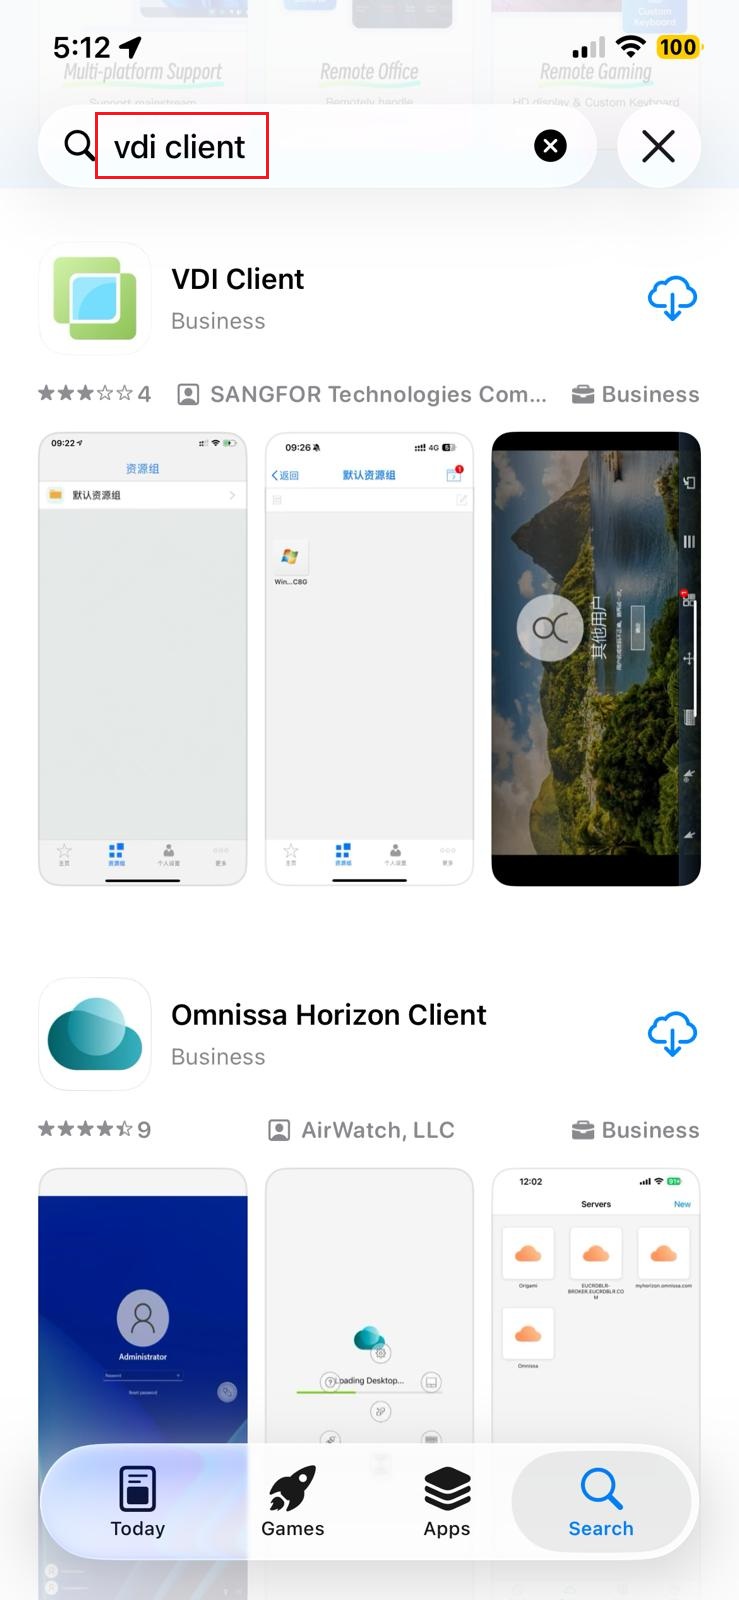
2. After installing the app, you will see this icon, open it.
3. Type https://vds.cityhu.edu.hk in the URL box, tap Connect.
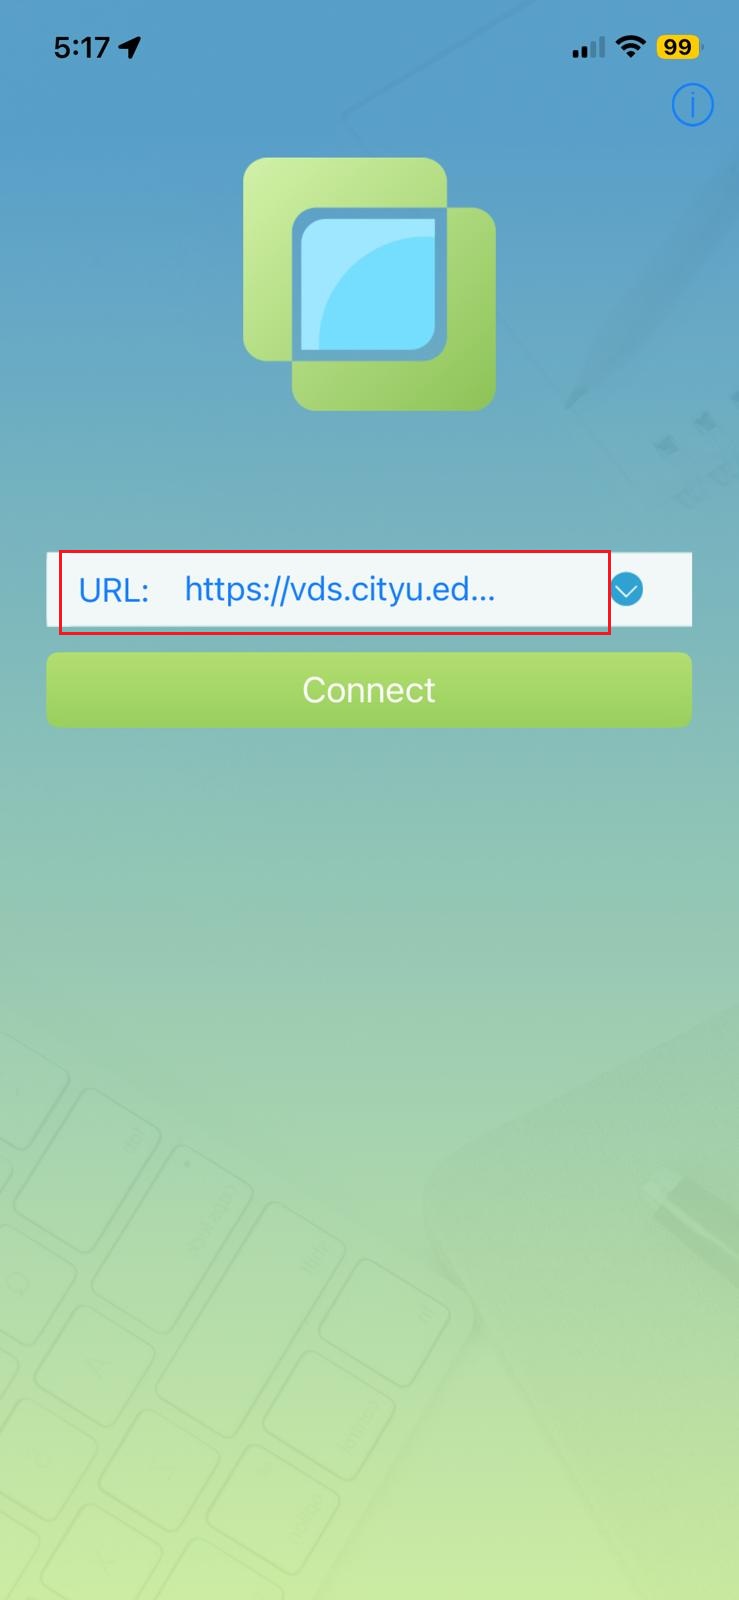
4. Type your EID and password, select the I have read... check box.
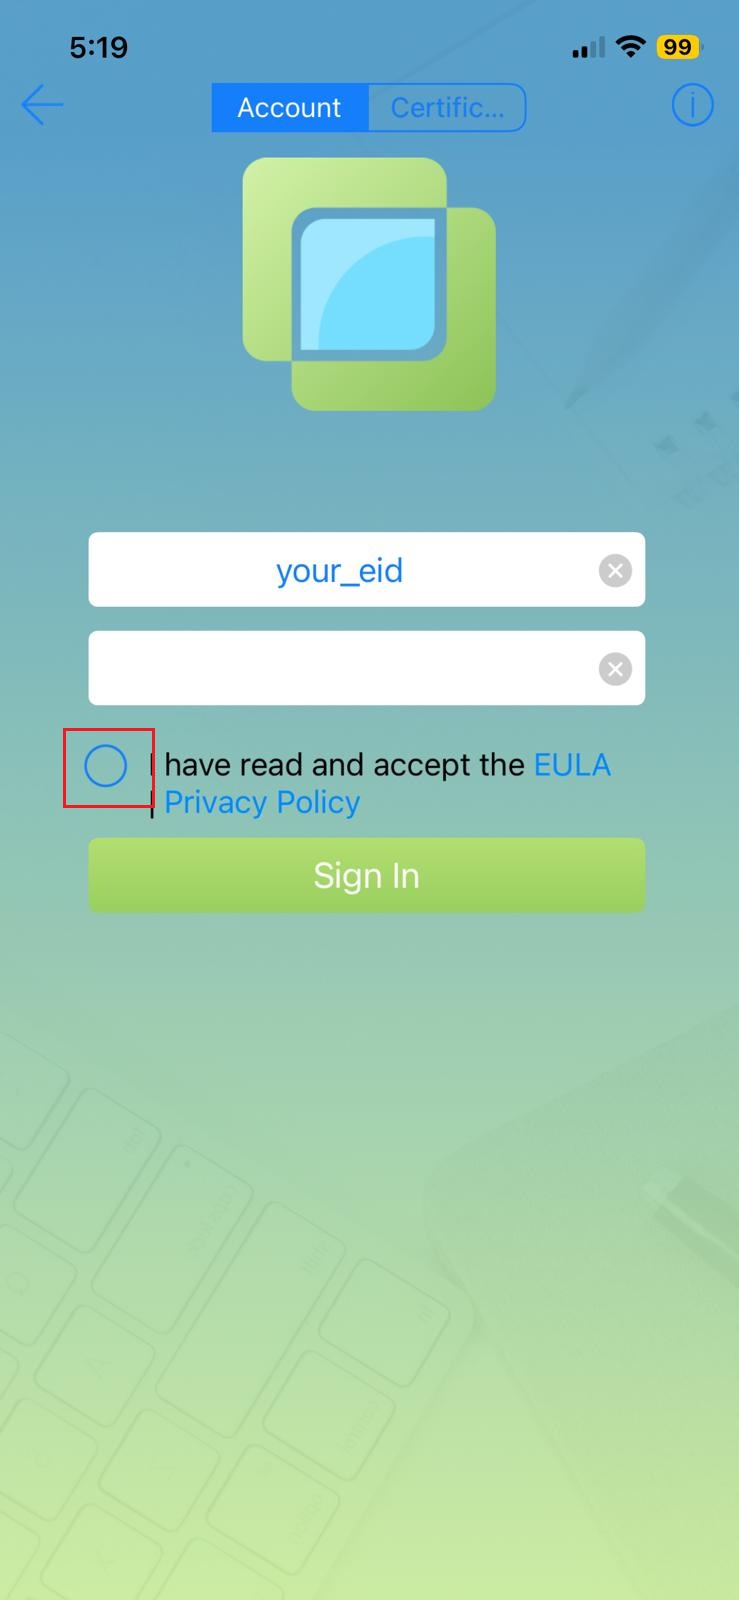
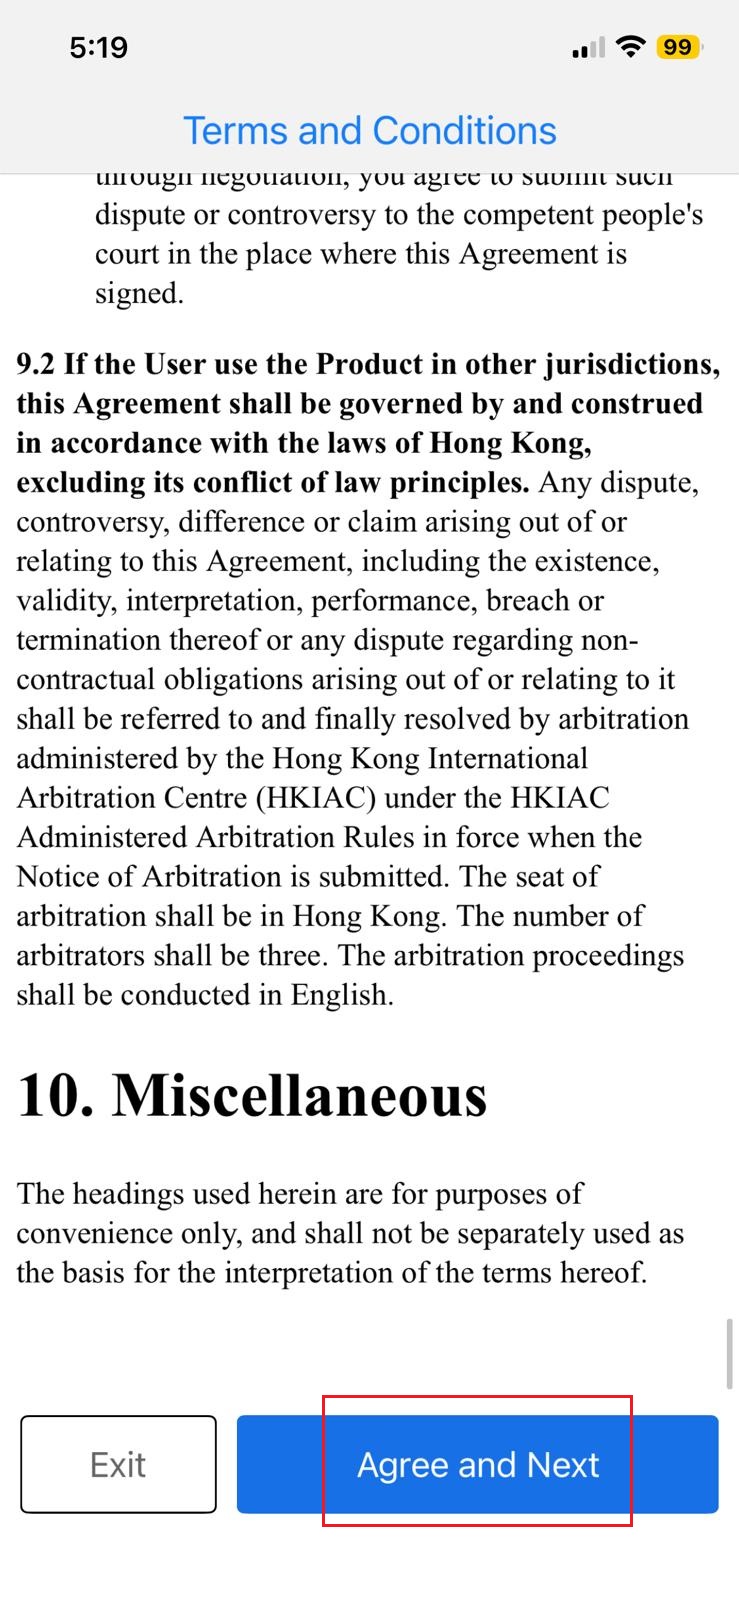
5. Read through until the end of the document, tap Agree and Next.
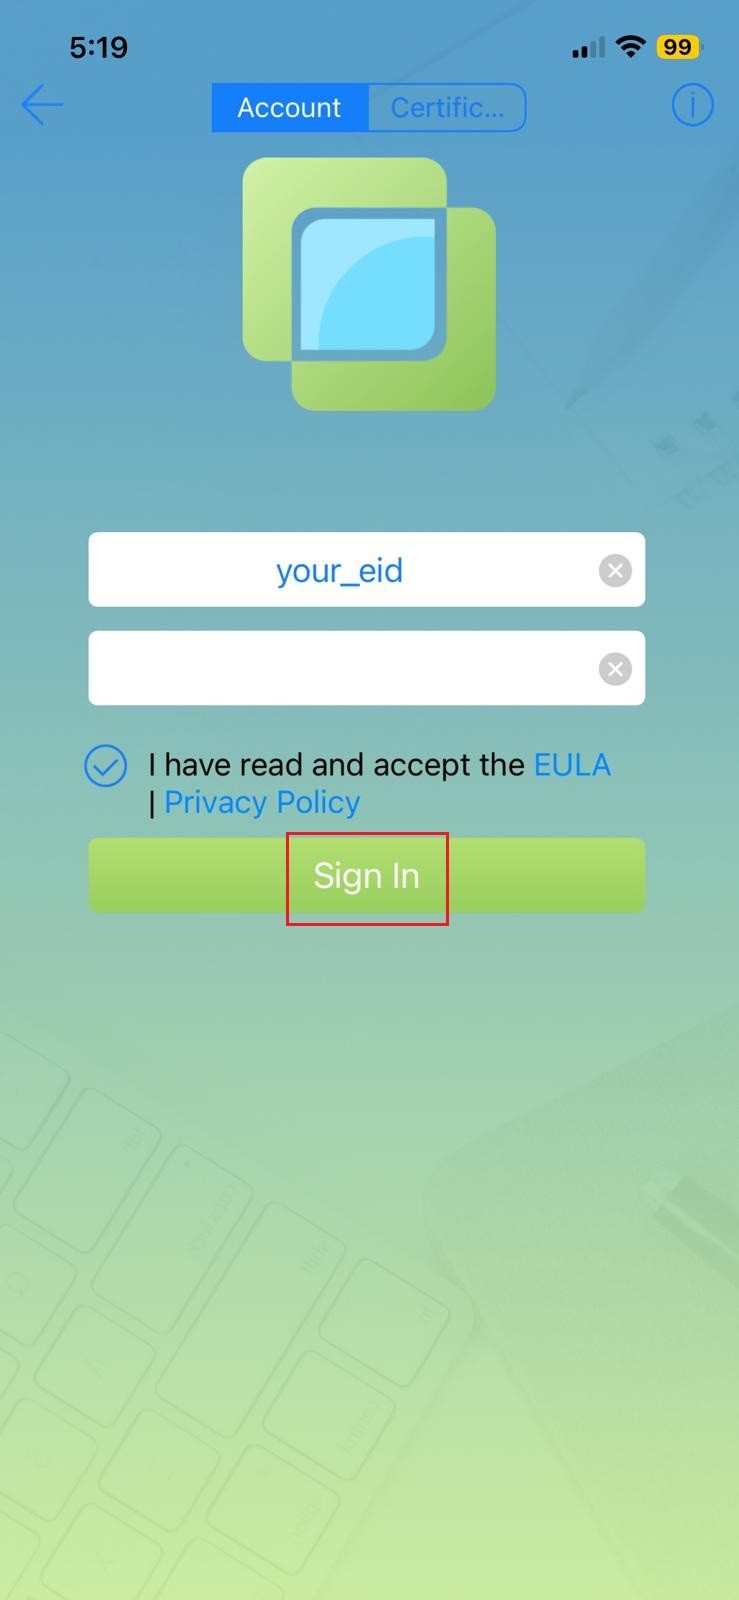
6. You will return to the logon screen, tab Sign in.
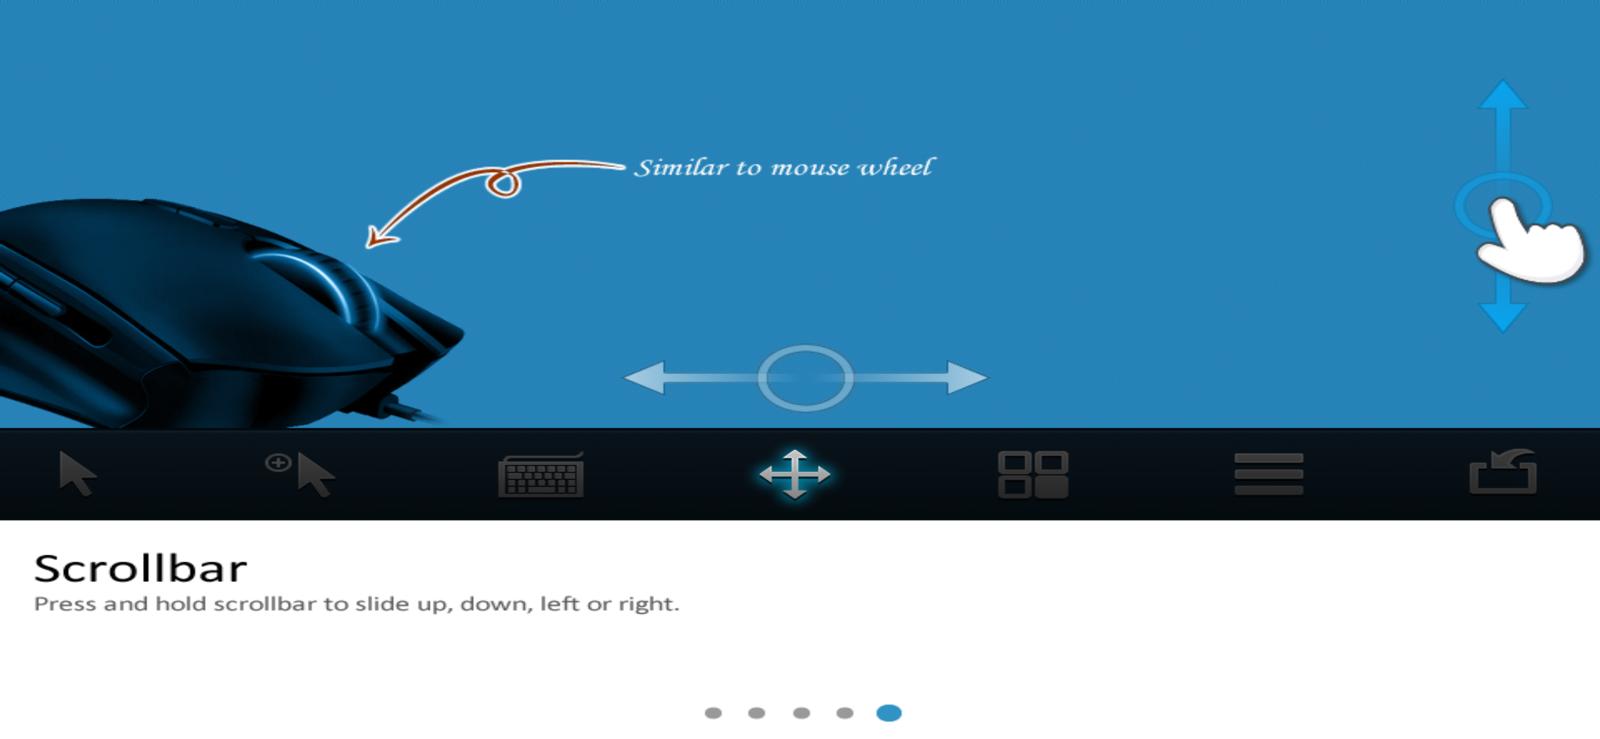
7. Read the five pages of user guide.
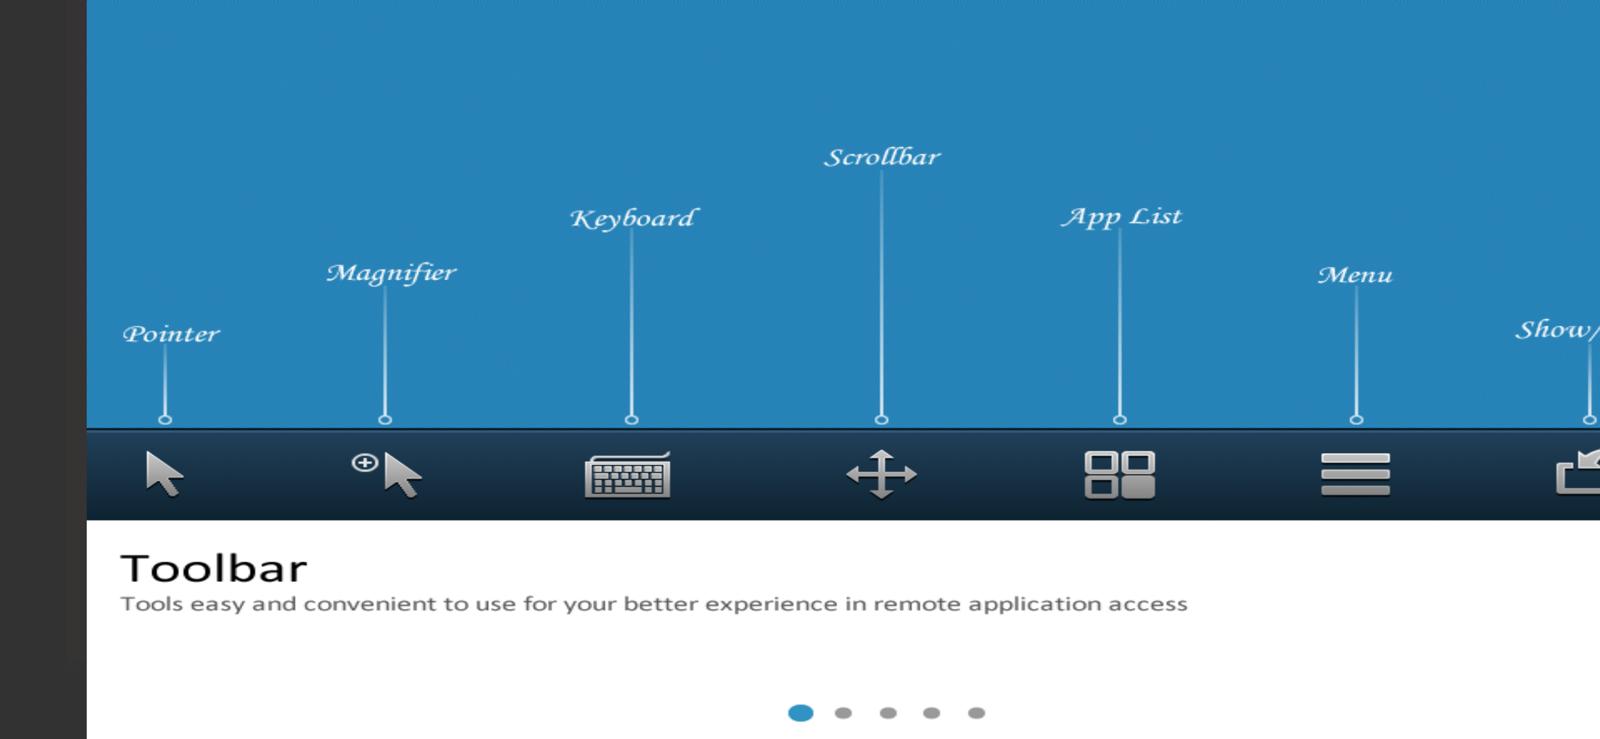
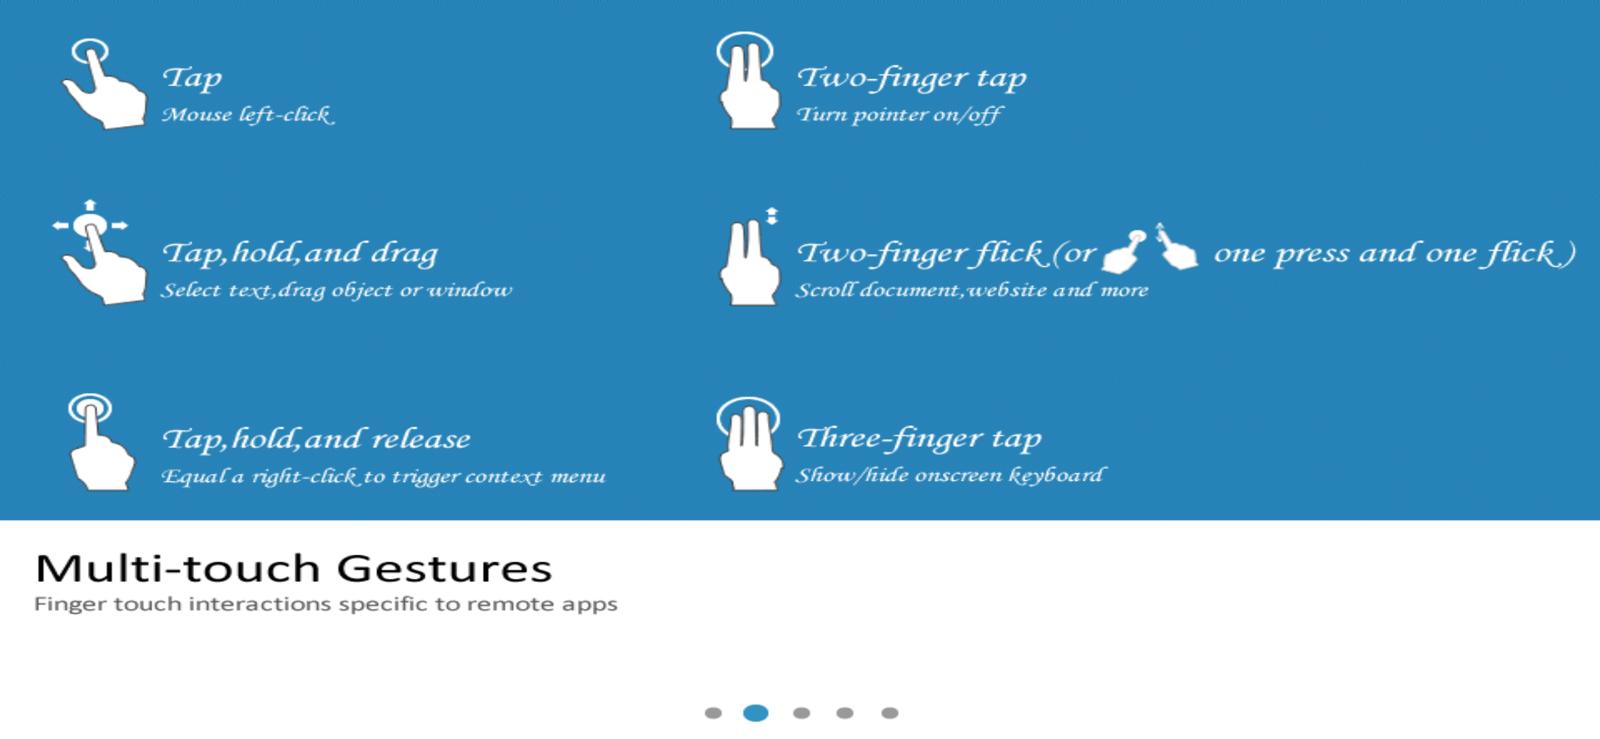
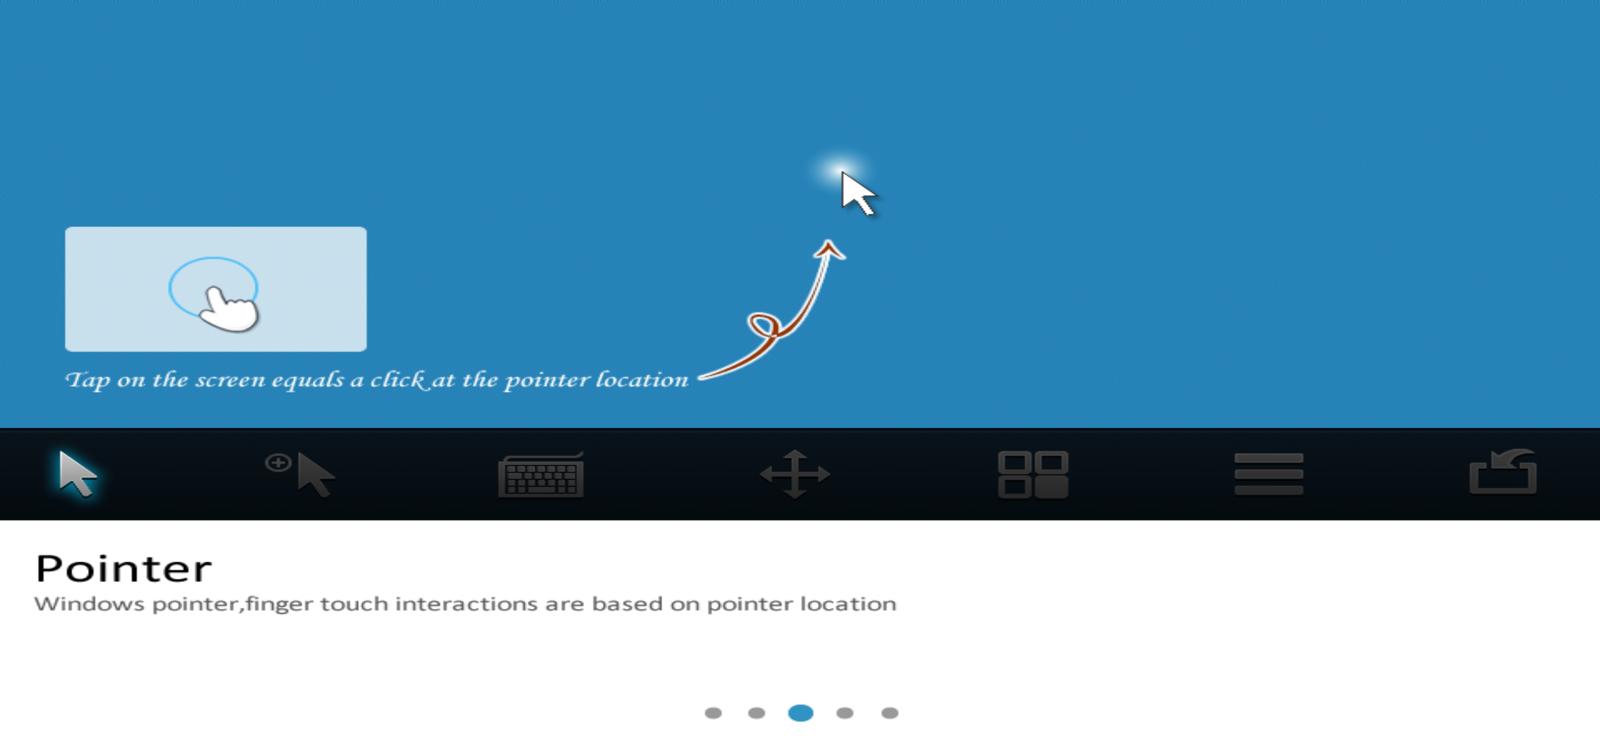
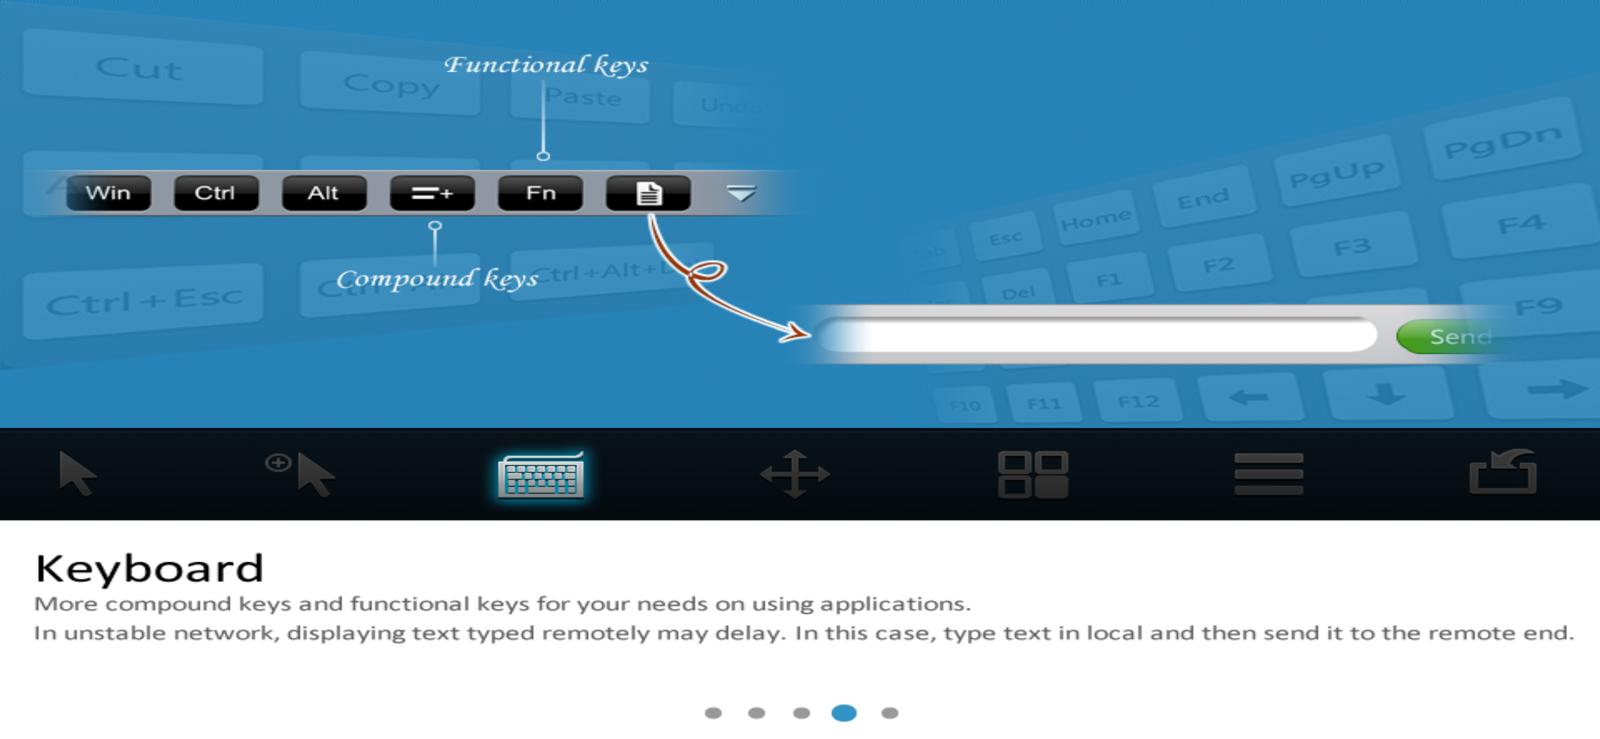
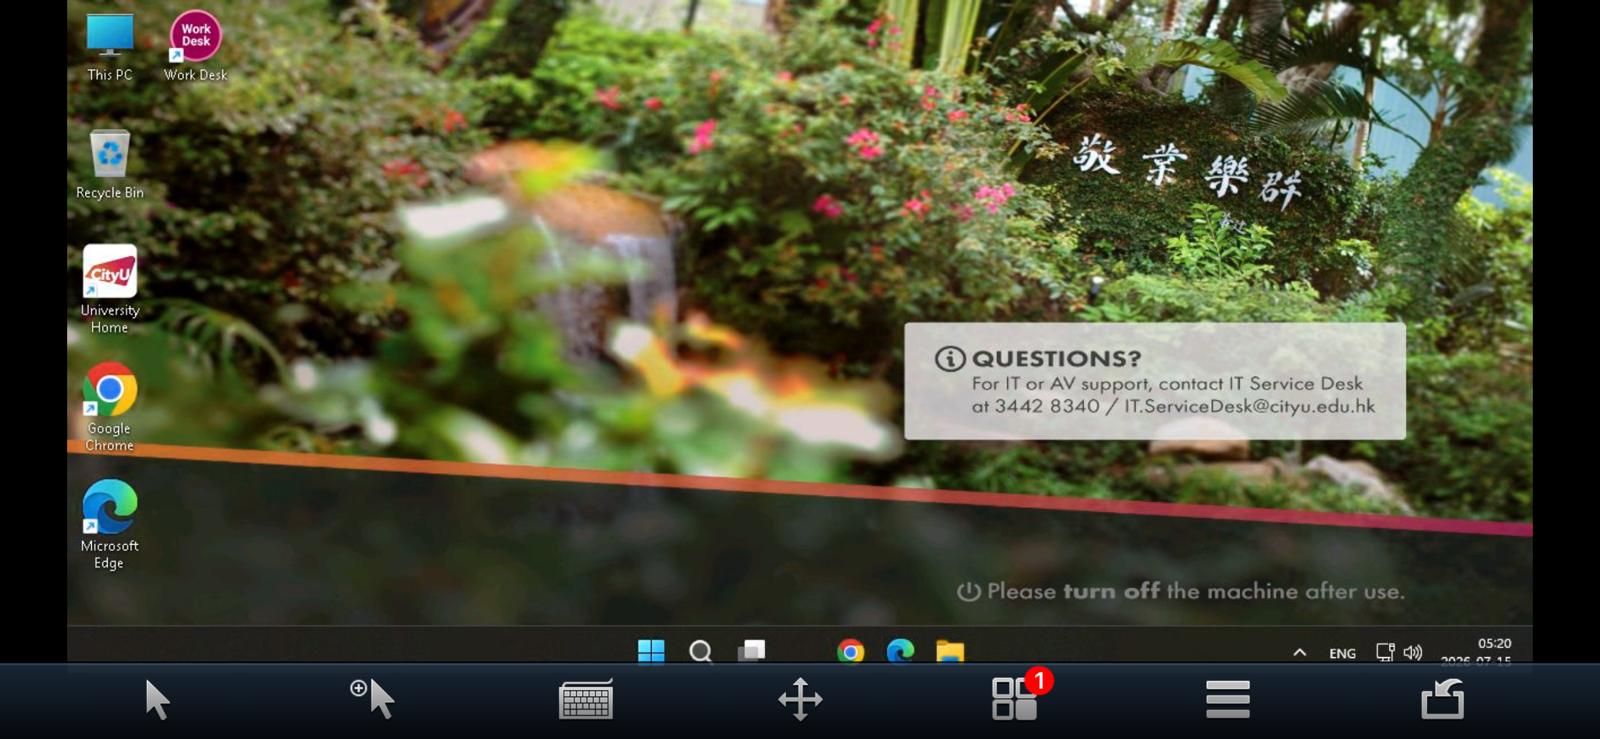
8. The virtual desktop will be available to use
IT.ServiceDesk@cityu.edu.hk