Pull down the menu on the top right corner, click the "Settings" item.

Scroll down to "Security Methods", click the "Set up" button.

Type your Password
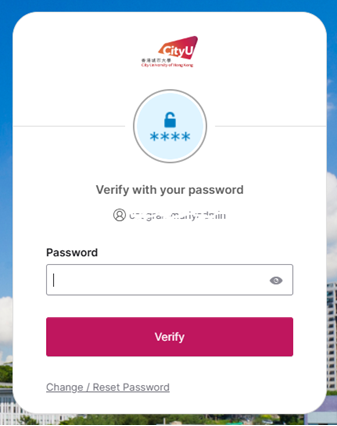
Click the "Set up" button.

When you see the QR code page, open the "Okta Verify" app on your mobile device.

On the Okta Verify app, tap the "Add account" button.

Tap "Organization".

Tap the "Skip" button.

Tap the "Yes, ready to scan" button, and face the camera on the QR code showing on Step 7.

Tap the "Enable" button.

Tap the "Done" button.

Once the setup has completed, you will see your device name under Okta Verify on the page.

IT.ServiceDesk@cityu.edu.hk